Assembly instructions

Mark where the mirror will go.
Choose the Right Location:
Avoid drilling into weak points in the ceramic, such as joints or spaces between tiles. Sometimes, when tiles are installed, the adhesive cement is not evenly distributed, leaving air pockets underneath. Drilling in these areas can cause the tile to crack.
To check for hollow spots, tap the surface with your knuckles—if it sounds hollow, avoid drilling there.

Make the holes in the wall.
Mark the Drilling Point:
Use a punch and a hammer to make a small notch at the spot where you plan to drill. This helps the drill bit settle into the indentation and prevents it from slipping while drilling.
Proper Mounting for Mirrors:
You need two anchor points behind the mirror for secure hanging. It is recommended to place them about 6 cm from the top and positioned on each side for balanced support.
Insert the plugs into the wall.
Insert the Wall Plugs Correctly:
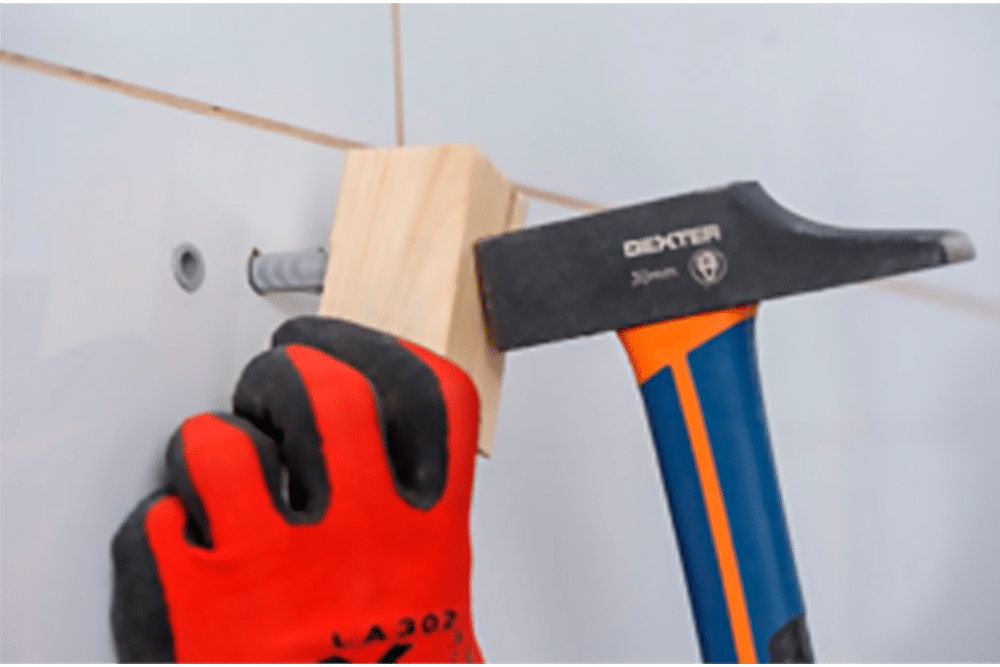
Place the wall plugs into the drilled holes and gently tap them in with a rubber mallet.
If you don’t have a rubber mallet, use a wooden block between the plug and the hammer to prevent direct impact, which could damage the plug. Ensure the plug sits flush with the wall surface.

Make the electrical connections.
To do this, it is necessary to remove the mirror. Disconnect the main power switch. Carefully take out the wires coming from the wall and connect them to the mirror’s terminals. If necessary, ask someone for help to hold the mirror while making the electrical connection.
Place the mirror.
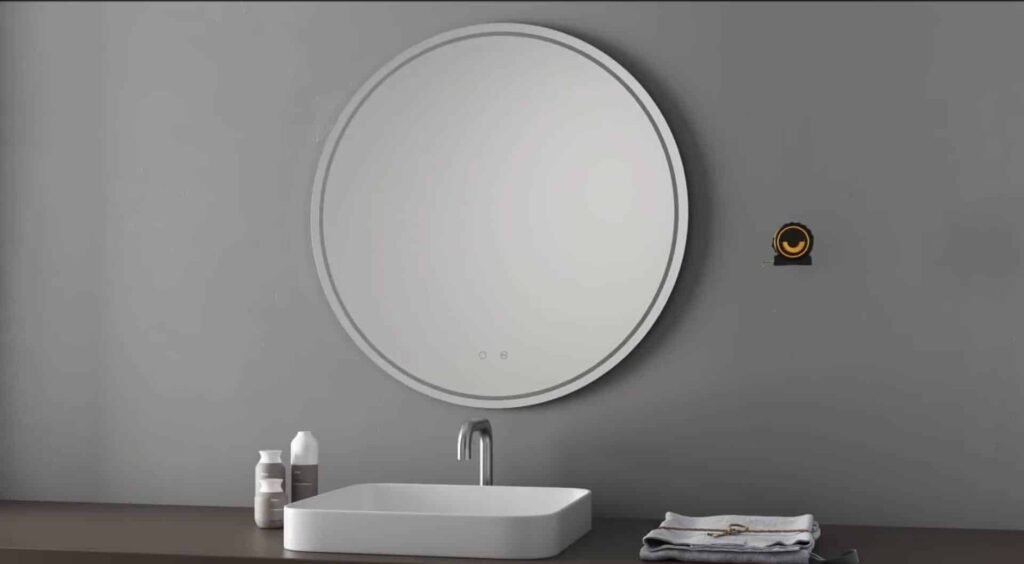
This is one of the most complex processes, especially with large mirrors. For mirrors over 1 meter in length, it is recommended that the installation be carried out by two people, as improper handling can lead to accidents.
Instructions
Installation Instructions for Scandi Mirror
- Follow the manufacturer’s instructions when installing the mirror.
- After opening the box, carefully remove the mirror and place it on a soft surface.
- Pay close attention during installation to avoid scratching the back and surface of the mirror.
- Ensure that the electricity is turned off during installation.
- Before drilling holes in the wall for screws, confirm their correct position and check for pipes or electrical cables. Screws should extend approximately 25 mm from the wall.
- Strip the wire insulation by a maximum of 5 mm so that the copper wires do not protrude from the connector.
- Do not modify the electronic system yourself. Any unauthorized modifications may void the warranty (unless prior approval is obtained from the manufacturer).
- The mirror must be connected to the electrical system by a qualified person with basic electrical knowledge.
- Keep the original packaging during the warranty period.
- Clean the mirror only with glass or mirror cleaning products and a soft microfiber cloth.
Final connection
La conexión del espejo a la red eléctrica se debe realizar de la siguiente manera:
Conectar el cable marrón del transformador al cable de fase marrón de la red eléctrica (puede ser negro, rojo, gris o blanco en lugar de marrón).
El cable azul del transformador se debe conectar al cable neutro azul. Conectar el cable amarillo-verde del transformador al cable amarillo y verde (tierra-PE).
2. Si los colores de los cables del transformador no coinciden con los colores de los cables de la red eléctrica, se debe conectar el cable de tierra al cable de tierra, el cable de fase al cable de fas
Electrical Connection of the Mirror
The mirror must be connected to the electrical network as follows:
- Connect the brown wire from the transformer to the brown phase wire of the electrical network (may also be black, red, gray, or white instead of brown).
- Connect the blue wire from the transformer to the blue neutral wire.
- Connect the yellow-green wire from the transformer to the yellow-green (ground-PE) wire.
Important Note:
If the transformer wire colors do not match the electrical network wire colors, ensure that:
- The ground wire is connected to ground.
- The phase wire is connected to phase.
- The neutral wire is connected to neutral.
e y el cable neutro al cable neutro.
Visit us
If you have any questions about the installation of the mirrors, you can contact us through our form, and we will respond within 1 to 2 business days.
Chat online
If you need faster and more personalized assistance, you can contact us through the live chat located in the icon at the bottom right corner of the page.
Our team is always online, and our customer service hours are:
Monday to Friday, from 8:00 AM to 6:00 PM.
